Tuesday, February 5, 2013

How to install a self-signed certificate as a Trusted Root CA

I'm sure there are other sources on the Internet for this task but, I wanted to provide what worked for me. Here are the basic instructions for installing a self-signed certificate into your trusted root Certification Authority (CA). These instructions were designed with Windows Vista or higher in mind. But, should suffice as a basic guideline for lower versions of Windows. Be absolutely sure you trust this certificate before doing this.

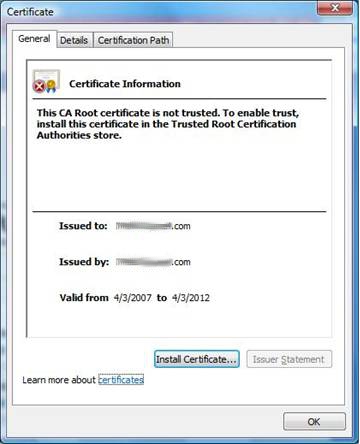
  1. When you get the security alert that "The identity of this web site or the integrity of this connection cannot be verified" you should see an option to View Certificate. Click on that.
  2. Next, click on Install Certificate....


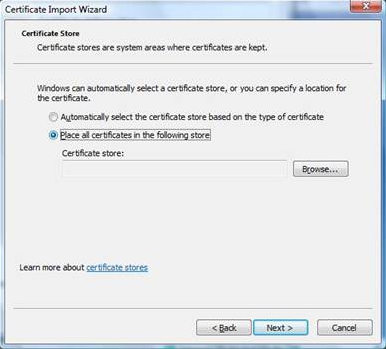
  3. Under the Certificate Import Wizard choose the option "Place all certificates in the following store" and select browse.


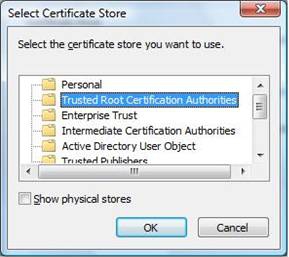
  4. Select Trusted Root Certification Authorities and click OK.


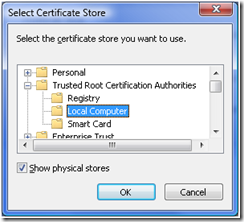
  5. Select Local Computer (some cases you have to select Show Physical Stores here). Click OK.


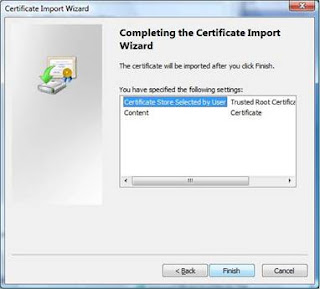
  6. Click Finish on the Completing the Certificate Import Wizard screen.


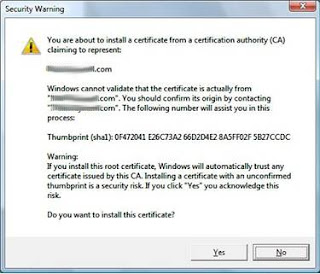
  7. Click yes on the warning message to install the certificate.


  8. Done!
You shouldn't be pestered by the alerts any longer for the certificate that you just installed. Remember though that these are only valid for the domain you are installing on. You can follow the same instructions for other domains though if needed.

No comments:

Post a Comment